This post may contain affiliate links. As an Amazon Associate I earn from qualifying purchases.
* * *
I’m not the kind of girl who falls in love at first sight. My love grows slowly, building a little at a time, until I’m all in. That’s how it happened with my husband and that’s how it happened with glass blowing classes in Corning NY.
My Love Affair with Corning Glass Blowing Classes
For seven years, I drove up and down Route 15 between my hometown and my new home, passing billboards for the Corning Museum of Glass, or CMOG, all the way. Like the cute boy in class, I gave the advertisements a passing glance and thought to myself, “maybe someday”.
Eventually, I caved and decided to stop along my drive for Corning make your own glass. In fact, I was so intrigued, I signed up for two make-your-own-glass projects on the same day: a glass flower (glassforming) and pendant (flameworking).
An Overview of the “Make Your Own Glass” Projects at the Corning Museum
For someone who wants a hands-on look at what it’s like to blow glass, the short 40-minute Corning Glass Museum classes are perfect. You can choose the type of project that appeals to you most (hint: the flower is the most hands-on, making it the most fun for adults) and you’ll be right in the studio.
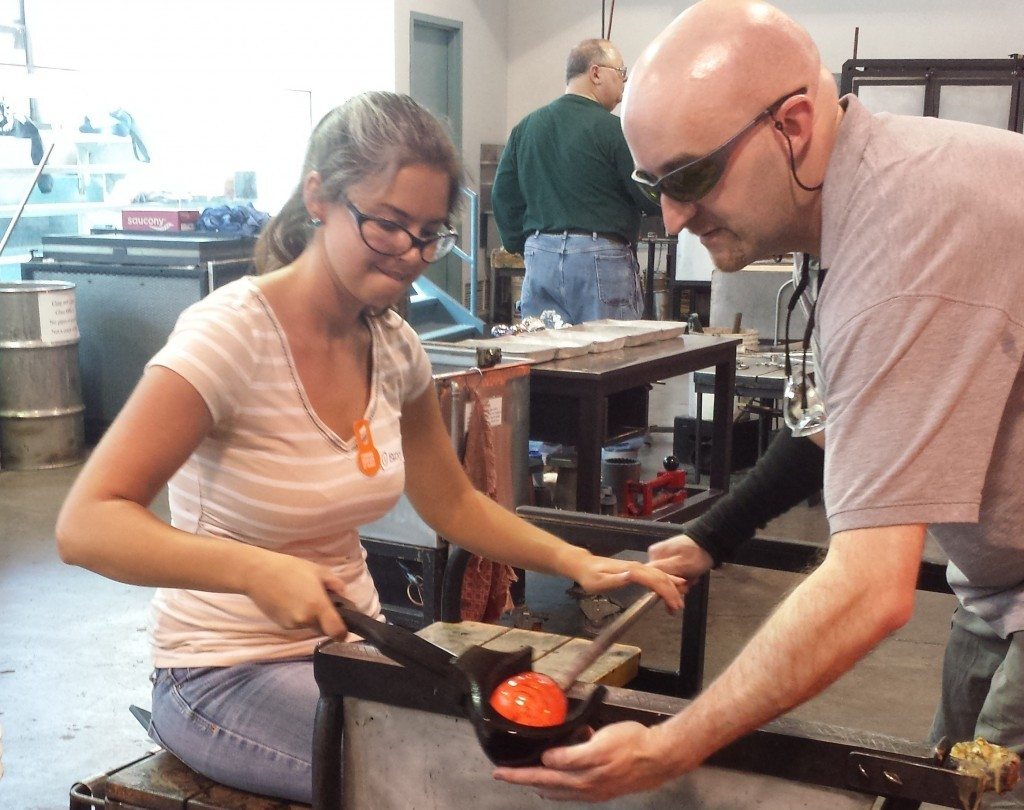
Admittedly, the experienced gaffers, or glassblowers, do the hardest parts for you. You pick the colors, style, and other design components and get a shot to help out in some steps, but there’s a lot you don’t do.
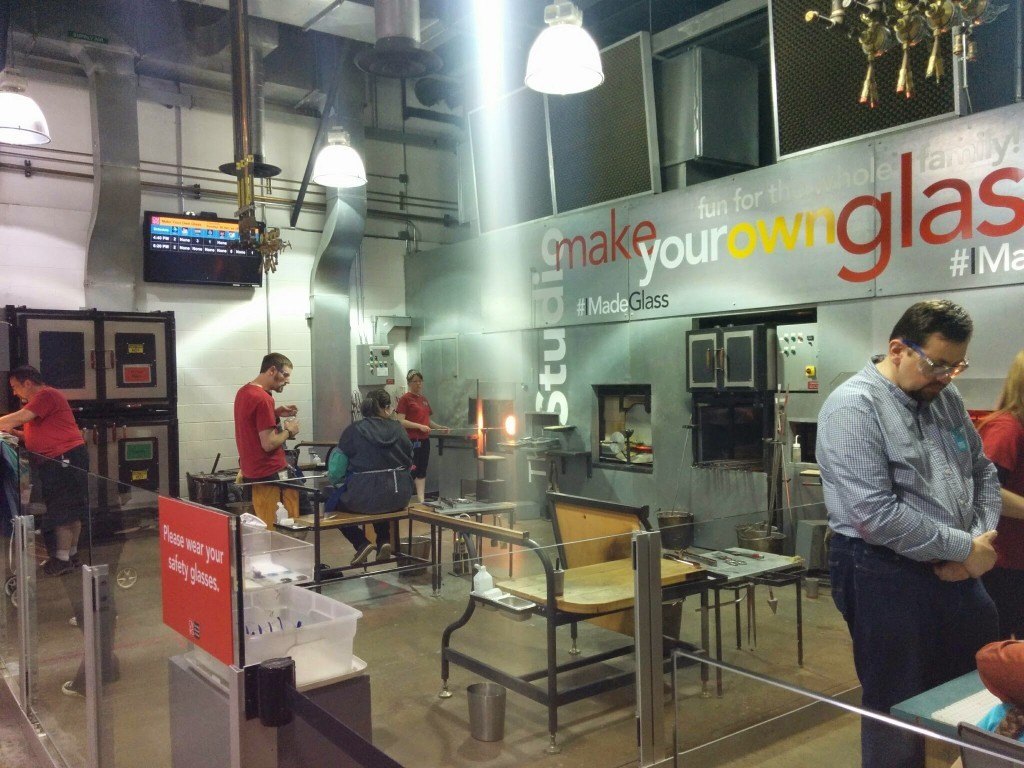
Gaffers gather molten glass from the furnace and use years of experience to trap that first bubble of air inside your project before you help blow. When you only have 40 minutes in the studio, it’s impossible to learn all the safety and technical skills needed to complete a project that doesn’t look like a blob.
Although I highly recommend these projects — so much so, I’ve done four of them now! — I wanted the chance to create glass from start to finish.
Intensive Corning Glass Museum Classes & Workshops
For anyone who’s hooked on the art, you can take more in-depth classes at the Corning Museum of Glass. Some are a day, many are a weekend, and some are aimed at locals, meeting weekly for several months.
For visitors, myself included, the weekend classes are the best bet: long enough to actually accomplish something but short enough to fit into any Corning, NY visit.
The Basics of Glass Blowing
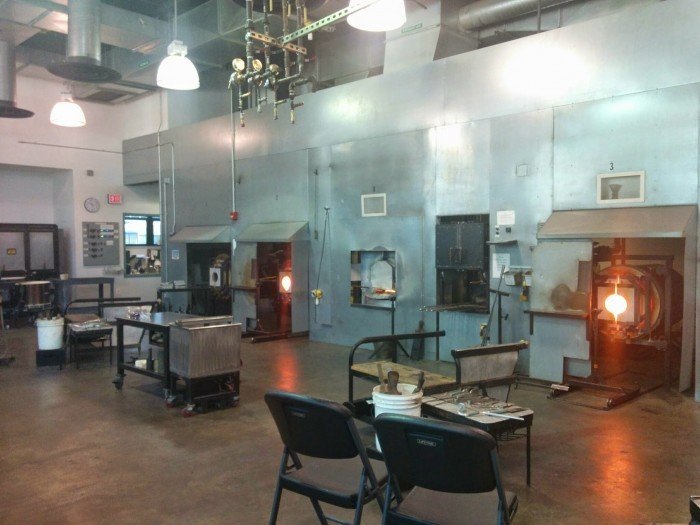
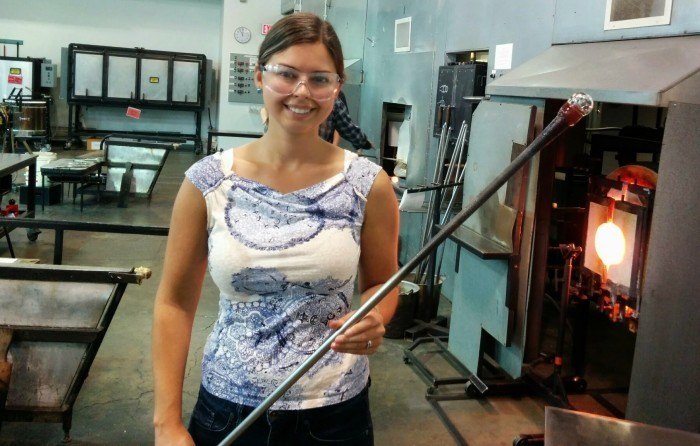
On a Saturday morning, I arrived at The Studio along with five other students to meet our teacher and her assistant. Over the course of two days, we’d learn a complete set of basic steps for glassforming and glassblowing. This introductory glassblowing class is a whirlwind opportunity!
>>>>> Related Post: Corning NY Travel Guide (opens in new window)
I was excited to be in such an intense atmosphere, but I was also a little nervous. I have no artistic predispositions, no spacial awareness, no hands-eye coordination, and no dexterity whatsoever, so I was set up for failure. My only hope was that I’d be able to melt things down and try again if I screwed up; that’s definitely a saving grace for beginning students!
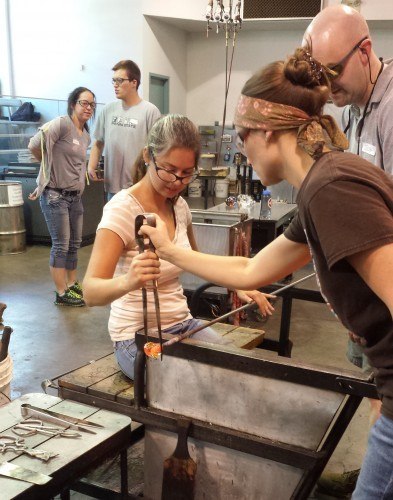
After we learned studio safety and etiquette, our teacher lectured on ways to manipulate glass. With lots of up-close demos, we started to get a feel of the tools we’d use, procedures, and skills.
After what felt like a lifetime of anticipation, it was time to try things on our own. I nervously splashed water onto my left arm to keep it from overheating and then approached the 2100 degree furnace which holds up to 1000 pounds of molten glass. Carefully, I dipped a long metal rod into the molten glass, rotating it clockwise, and working swiftly to ball up a layer of glass without dripping any along the way. The goal: make it look like a round, even ball and not a leaning mess.
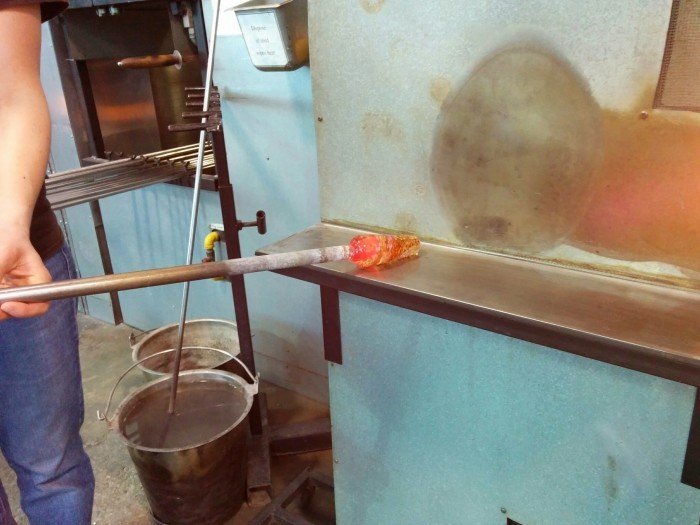
Next, it was time to master marvering, or rolling the glass on a flat surface to control the temperature and adjust the shape. Back and forth, I marvered the glass, then reheated it in the “glory hole” until I had the shape I was looking for. My teacher made this look easy; I failed time and time again until eventually, I figured out the exact amount of pressure to use while rolling to be successful. You learn by feel, not by instruction, so practice is the only way you’ll get it right.
Let it Snow
(Yes, it snowed in Corning during my late April visit)
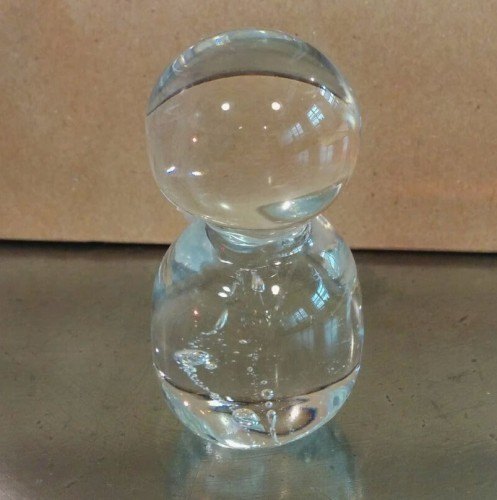
A few hours in, we started our first project of the weekend. We’d be using how to use jacks, an essential gaffers’ tool, to make a solid glass snowman. Barely comfortable with the techniques we tried earlier, I wasn’t quite ready to add on another step. In my head I was reciting steps and instructions over and over. Out loud, I was trying not to curse. It’s harder than it looks, but after a few tries, I had a sorry looking snowman.
Blossoming Skills
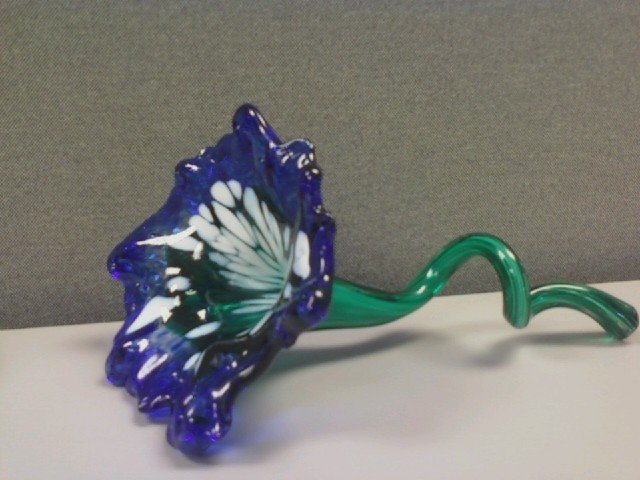
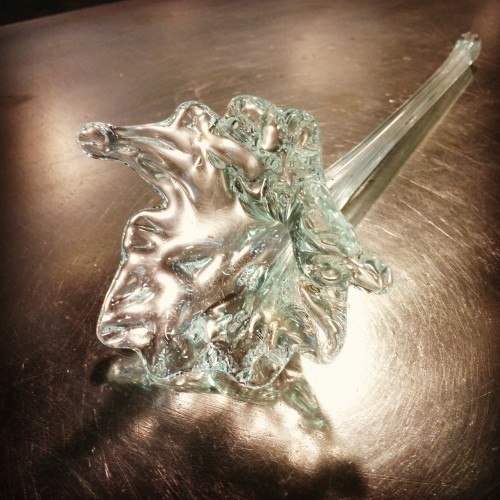
Before long, the real fun started. I had come full circle and it was time to make a glass flower — the same project I had made in the Make Your Own Glass workshop months ago. This time, though, I’d do it 100% on my own instead of relying on a teacher for the more complicated parts.
Gathering the glass from the furnace, I marvered it on my own to lengthen the glass and pull it away from the rod. Adding a second dip of molten glass, I marvered again. Then, using a spatula of sorts, I flattened it out before using the jacks to pull out petals…all while rolling the rod at a consistent pace. A drooped flower simply wouldn’t do.
Working with a partner, we pulled out a long stem. Even experienced gaffers often work on teams since glass art requires quick maneuvering. Together, we weakened the joint with the metal rod, and knocked into a special oven for it to anneal (or slowly cool) overnight. It symbolizes the crossing from a fun, sightDOING project to a skill I now have (some) proficiency in.
Swirls of Color
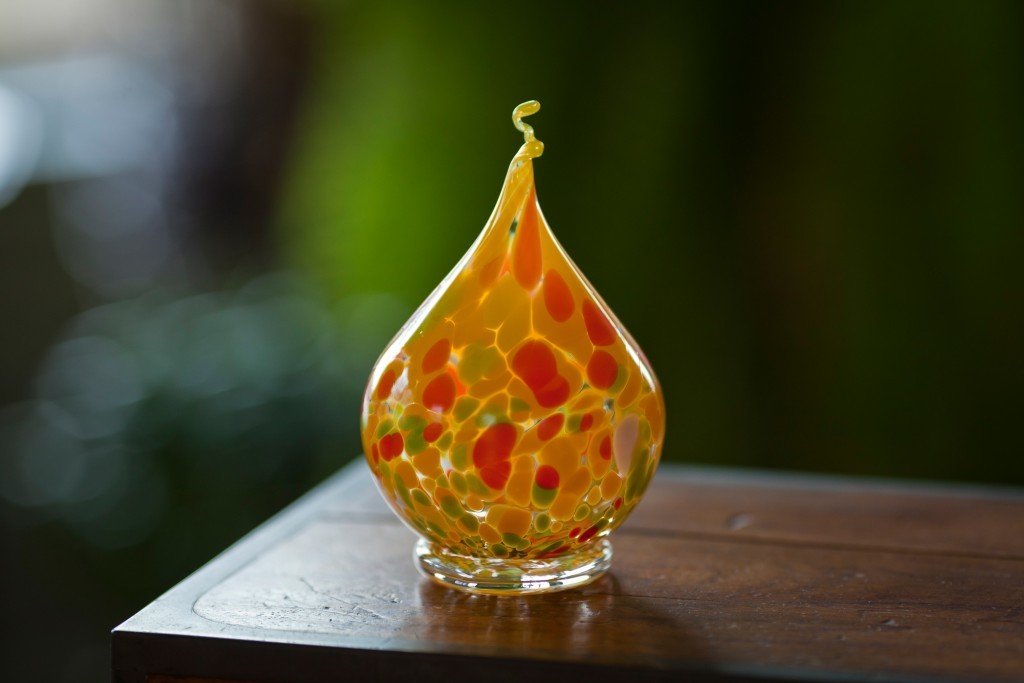
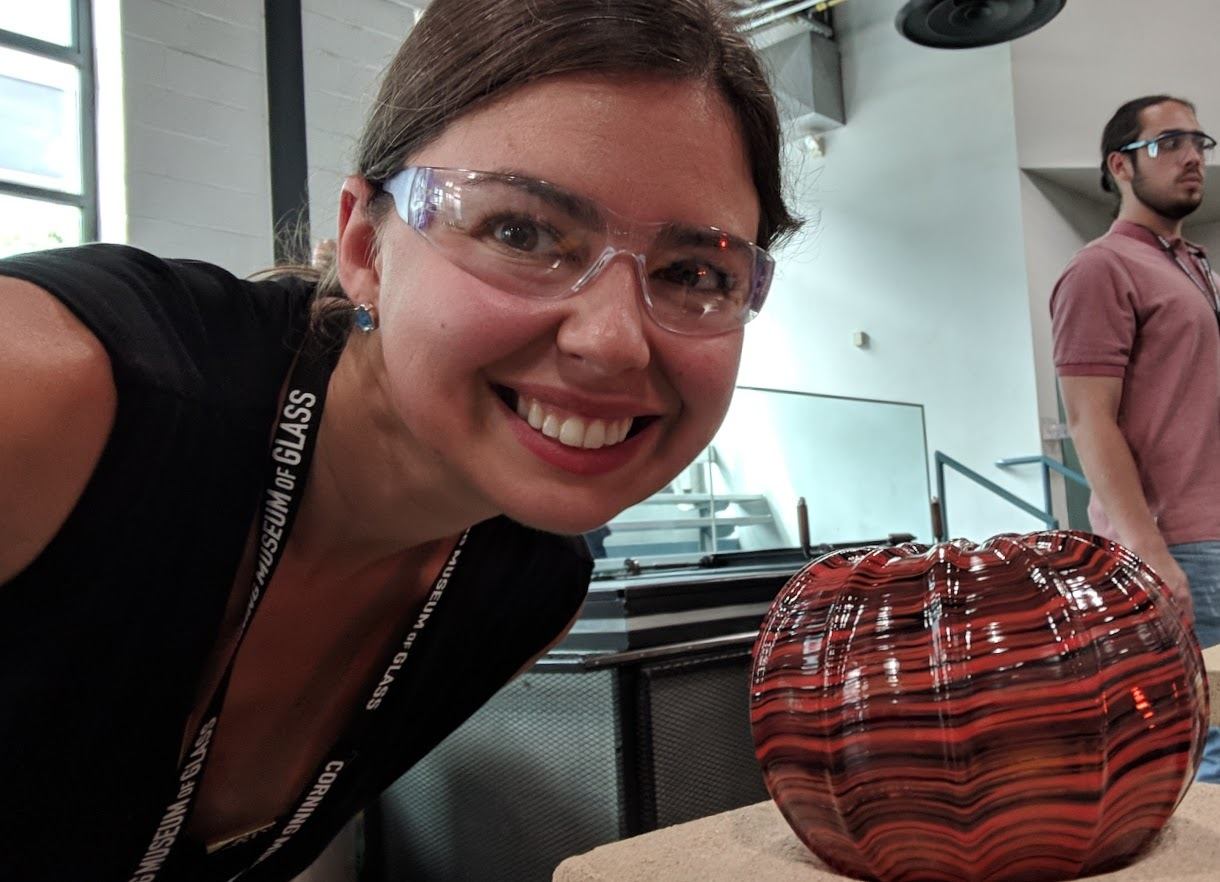
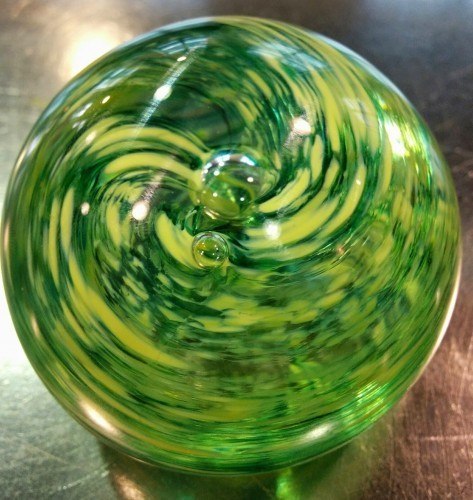
The real highlight of the day came when we learned to use color in a paperweight project. Something that looks so simple is actually one of the hardest things to make. Ironically, a paperweight starts as a ball of molten glass and doesn’t end too far from it’s original shape. It’s those steps in-between, though, that define success and failure.
Unlike our other projects, paperweights are made using glass blocks in assorted shapes and sizes that help you round the item. It takes a few tries to use the block to smooth things out without leaving bumps or lines.
Swirling the color was a new technique for us and one I wasn’t sure would turn out as expected. If you’re not good at marvering, your spiral might not be even. Psyching myself up and giving it all I had, I did my best marver job of the day and hoped for the best.
Sure enough, by the end of the day, I had created a masterpiece. While I might be most proud of my flower for what it symbolizes, there’s no doubt that my paperweight turned out beautifully.
Making a Glass
On day 1, we focused on learning techniques and getting comfortable with glasswork. On the next day, we moved on to something brand new: glass blowing itself.
Blowing glass into an object that already has a glass bubble inside is as easy as blowing through a straw. In fact, it’s something that all visitors can try in the short glass projects offered by CMOG (like the one I had done before). However, that first bubble inside involves more than just a strong blow.
After several tries of holding the blow pipe up to my mouth and hoping to get air in the air and then trap it inside, I was starting to feel out of breath. So much for fifteen years of being a flutist! Eventually, I managed to get the angle in my mouth just right and from that point forward, I was golden.
Our project for the day was making a drinking glass and while I thought that was a cool idea, I have to say it was pretty much impossible. I was barely keeping up with the skills we had learned so far and adding new skills seemed like cause for disaster. Furthermore, I found myself getting bored as my teacher shared a full hour — yes, an hour — of verbal instructions. How on earth would I remember step 1 when she had just mentioned step 437?
And I’ll be honest: I failed. I completely and utterly failed.
I had trouble getting the glass up to its intended height and eventually gave up. Frustrated, upset, and totally unmotivated after watching a skilled fellow student accidentally break her glass after doing everything right, I lost all hope to go on. No amount of encouragement (or especially advice) could make me salvage the project. I wanted to scream, “DON’T YOU KNOW THIS IS TOO HARD?!” Instead, I just kept rolling, re-working, and praying until I had a little glass bud vase for a little glass flower.
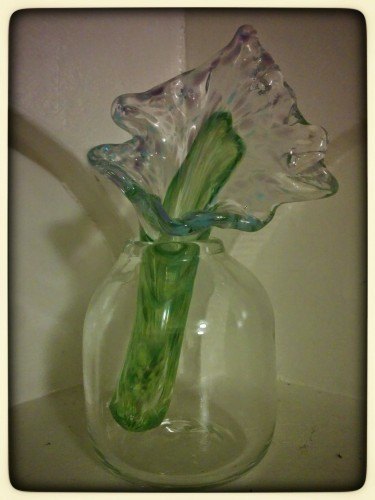
Ironically, it turned out pretty well. Still, I think I want to throw the vase against a brick wall and watch it shatter into a million shards. In that moment, I could not have been more frustrated. In that moment, I realized why most people learn introductory glassblowing in a week or more. With only a single weekend, there’s no chance to dwell on skills. You jump from one project to the next, which is both a blessing and a curse.
Weekend Redemption at the Corning Museum of Glass
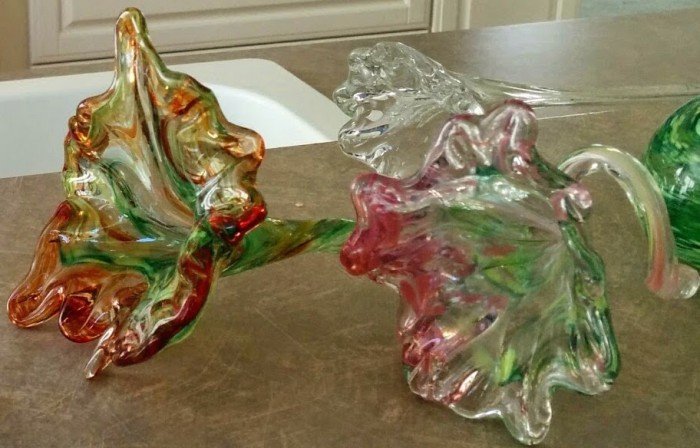
With a little time to spare at the end of the weekend, we were free to try projects a second time. Since my glass flower brought me so much satisfaction, it was a no-brainer for me to make another. I wanted to see if I remember each step without anyone whispering prompts to me and I wanted to experiment with color.
Before I knew it, I had completely forgotten the stress of making a glass vase. I was in paradise, trying new petal shapes and adding twists to my stems. Not paying attention to the time going by, I made not one, but three more flowers, each one different from the last.
This chance to perfect things and start to get comfortable with them was truly a treat. No quick project will give you that opportunity; only an in-depth class will. The next day, I polished and sanded the stems in the “cold shop”, making each a perfect souvenir of my experience.
Joining a Class at the Corning Museum of Glass
In a perfect world, you’d go to CMOG every week for an hour or two for scheduled classes, private tutors, and open studio time. Glass blowing is fun, but it takes a lot of practice.
Despite the stress I had with my so-called drinking glass, I had a good time. I was starting to get into the groove and would love to learn more about the nuances so I can appreciate the art that’s next door at the museum.
For those of us who live far away, it’s not feasible to attend regularly, which is exactly why there are shorter Corning glass blowing classes like the one I took. Classes are also available for other types of glass art, like flameworking, fusing, and jewelry. Corning is a really cool town, so if you have the time to spare, a weeklong class is the way to go. If you’re short on time, the 1 or 2 day courses give you far more exposure than the 40-minute make your own glass projects.
All students attending these workshops also receive free admission to the museum (highly recommended!) throughout the dates of their course. Course offerings change, so check the calendar and register in advance since classes are small.
* * *
Have you ever taken an intensive course like this? What did you learn?
I was a guest of the Corning Museum of Glass for this workshop (although I’ve visited several times separately on my own). Special thanks also to Steuben County Conference & Visitors Bureau for helping to arrange my trip.
Great post! My husband and I went to one of their workshops where you make Christmas ornaments. That was fun, but I wanted to do more of the work myself. Interesting to know that they offer the more extensive workshops. I understand that feeling of frustration (while attempting the glass). Glad you were able to complete some projects on your own at the end. Those pieces are nice souvenirs.
@VH, If you have the chance to get more involved, I’d recommend it. The extra steps, while difficult, are very satisfying. I had a blast forming things on my own and you’d never get the chance otherwise. Give it a shot!
Great article! Thanks so much for sharing your experience with the various levels of learning glass blowing at Corning Glass Museum. I learned about this place via watching “Blown Away”. This, along with watching Samantha Brown’s travel show episode about Corning and the Finger Lakes, has convinced me that I must make a trip out there!
By the way, I’m from Midcoast Maine, and saw that you made a trip to Acadia National Park and wrote about your hiking experiences there. If you’re ever out this way again, know that the other side of the island is always much quieter and offers many beautiful hiking trails. And, you definitely need to see Schoodic Point! If you have time in your travels, stop at my little coastal city, Belfast. Camden, Maine is another must do with its’ windjammers that do 2 hour and multi-day trips, and with Camden Hills State Park, where you can drive or hike to the top of Mt. Battie.
@Melinda, I do hope you get a chance to visit the region – it’s a really special part of New York. Thanks also for the Acadia tips…at the time I first visited, I lived in VA but now that I’m in driving distance it’s so much easier to re-visit. It’s definitely on my wishlist!