This post may contain affiliate links. As an Amazon Associate I earn from qualifying purchases.
* * *
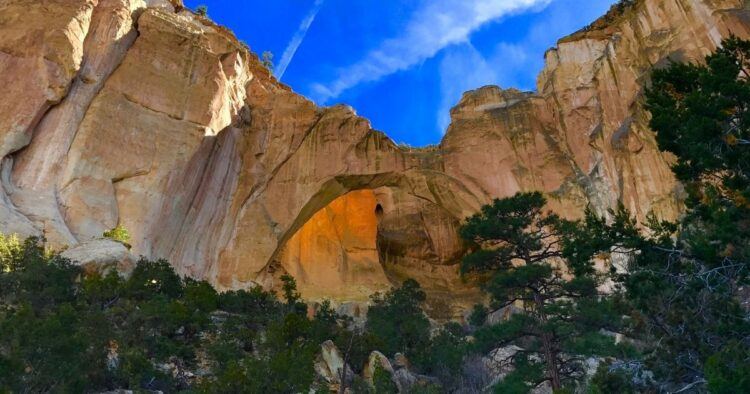
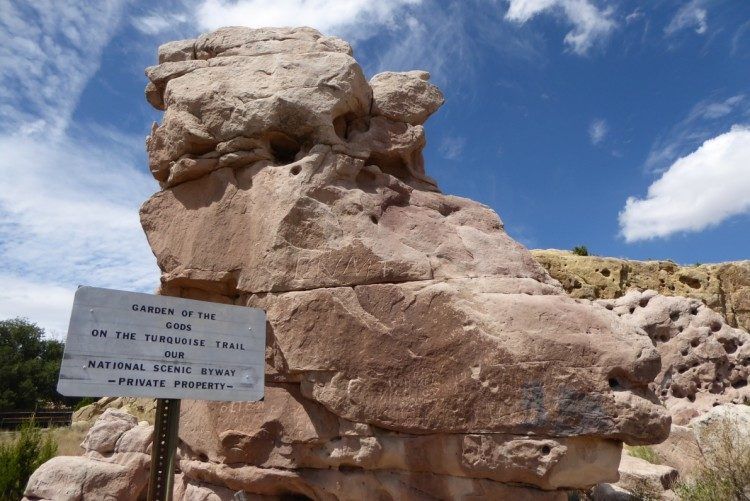
One of the reasons New Mexico is so cool is because it has tremendous geological formations that no one outside the state knows about. And unlike national parks, these wilderness areas are sparsely visited so you won’t be jockeying for the perfect photo. You can enjoy it all in peace.
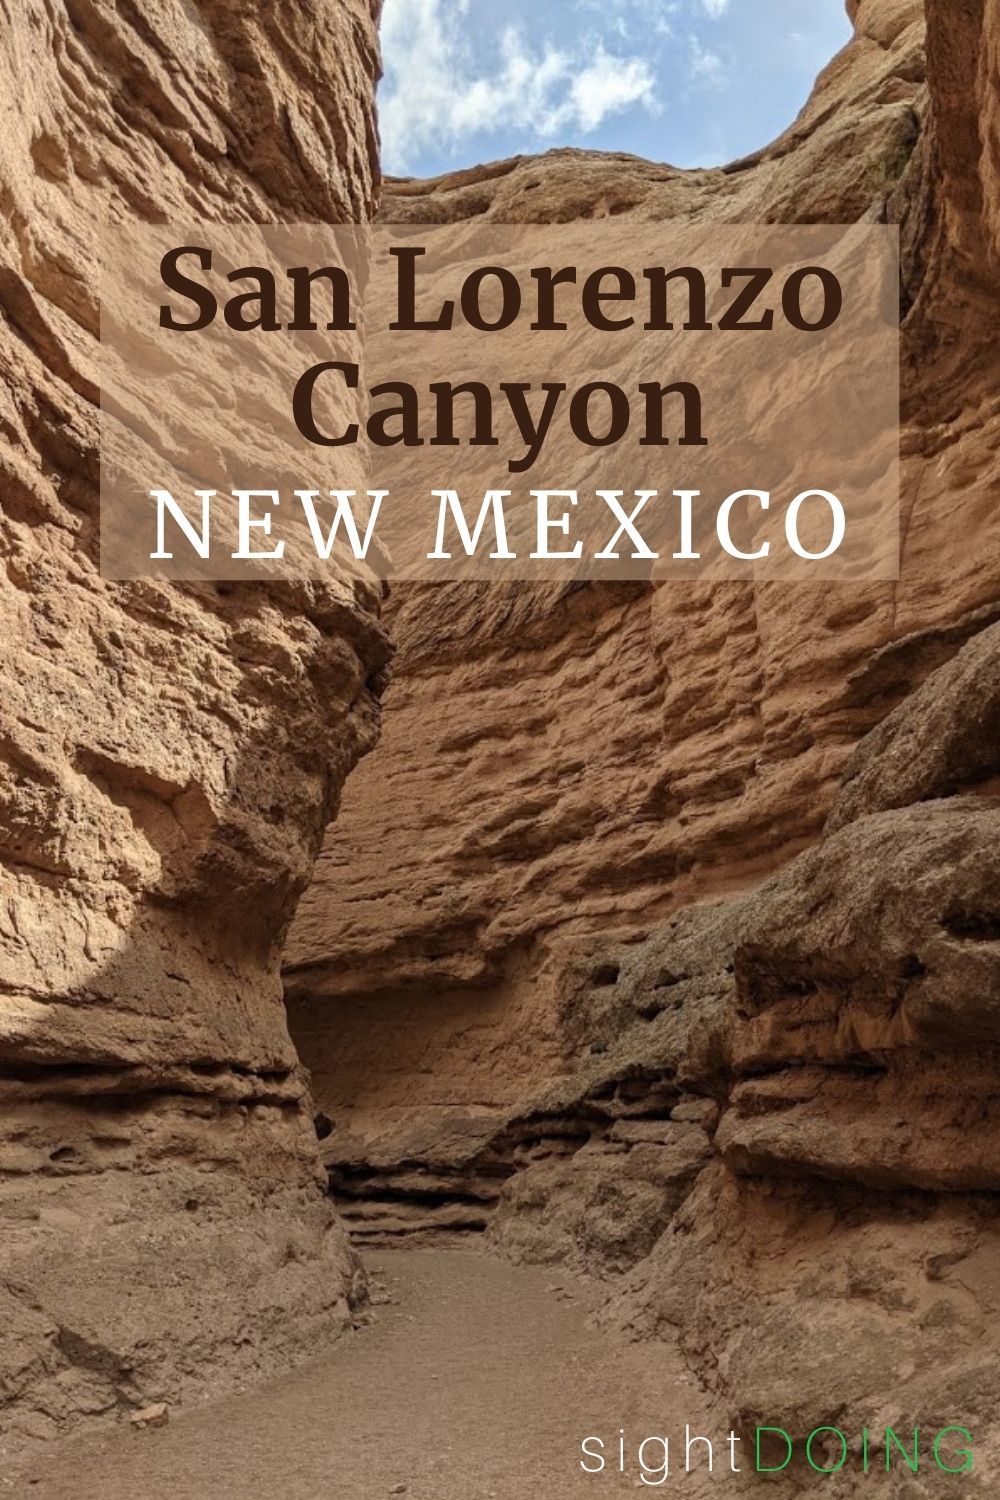
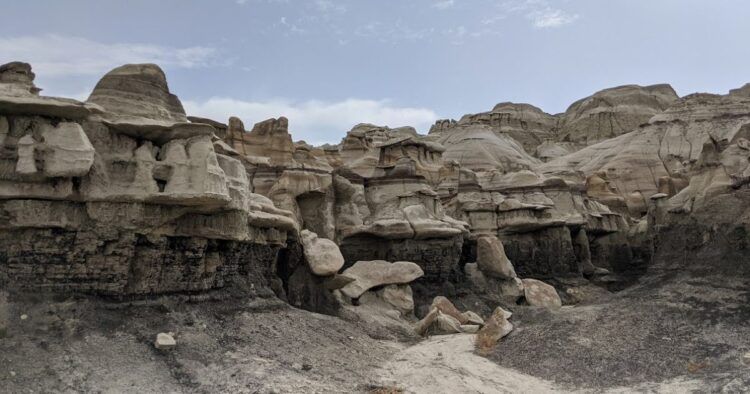
On my most recent trip to the state, my intended destination was the San Lorenzo Canyon, full of sandstone cliffs, mesas, arches, and hoodoos. The canyon is located near the Sevilleta National Wildlife Refuge, just north of Socorro, but is also easily visited as a day trip from Albuquerque — which is how I chose to visit.
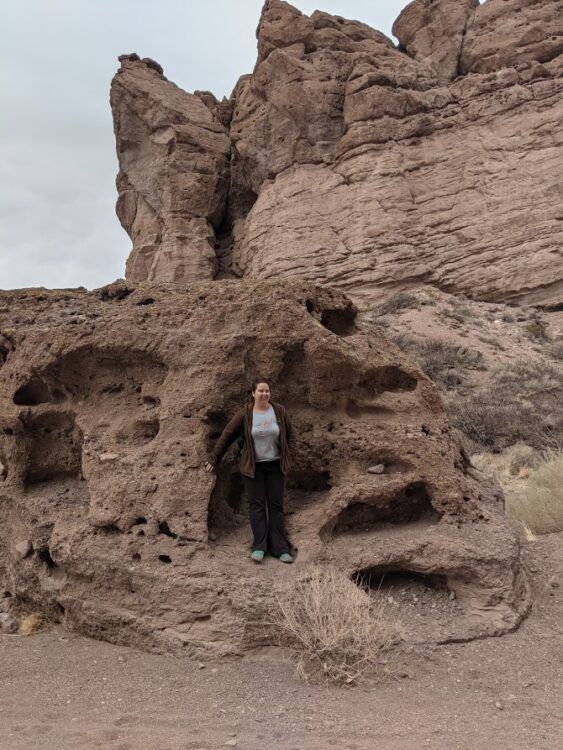
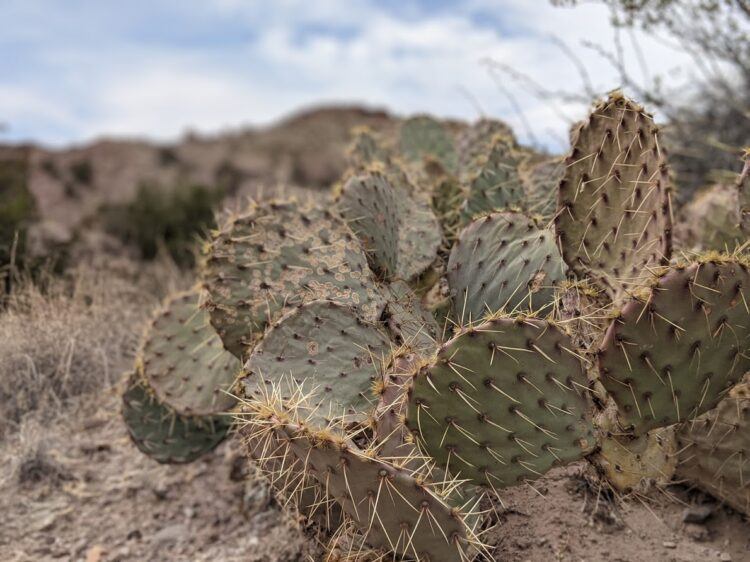
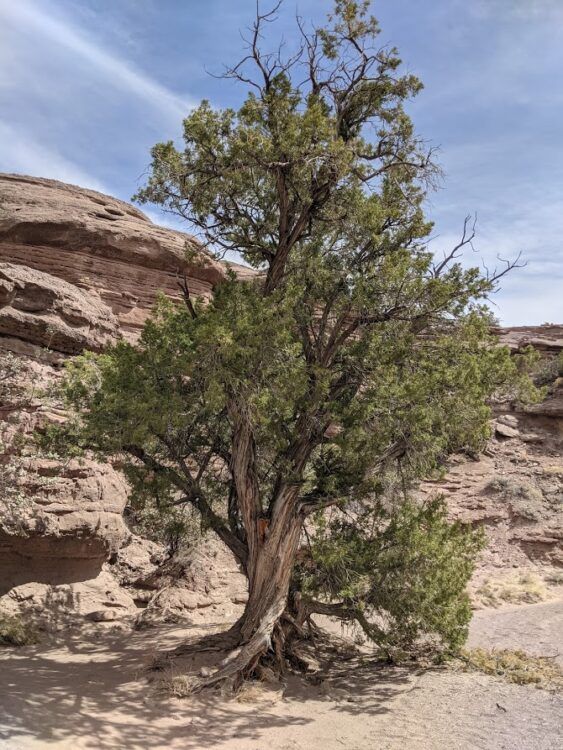
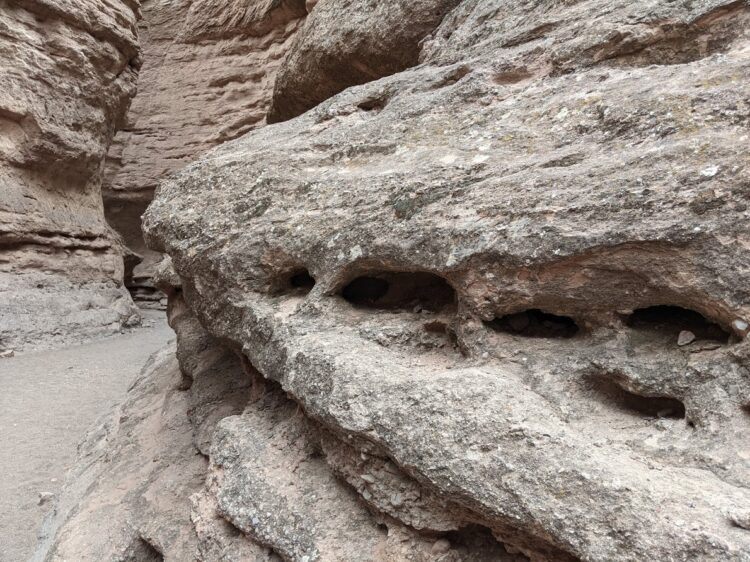
Best of all, this area can be visited by people of all fitness levels. There are areas you can drive through to enjoy the views, paths that are flat and easy, and other paths that will test your abilities. Additionally, it’s heaven for anyone who wants to scramble (carefully) around the rock ledges.
Hiking San Lorenzo Canyon
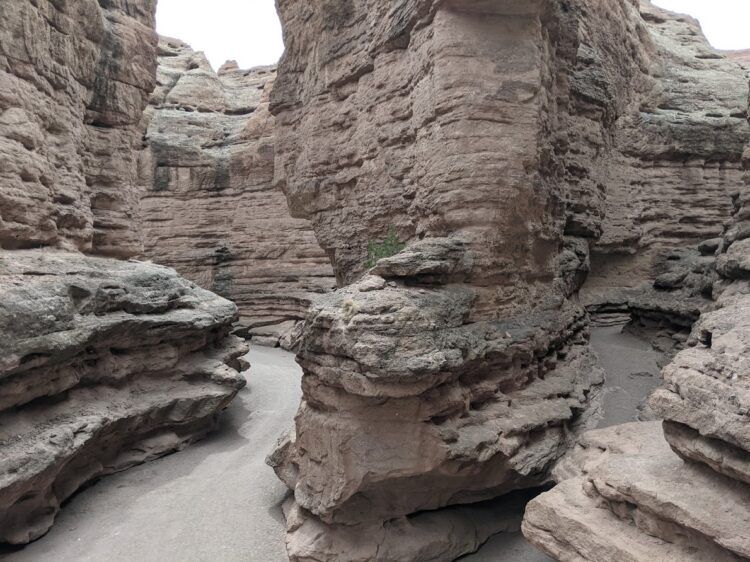
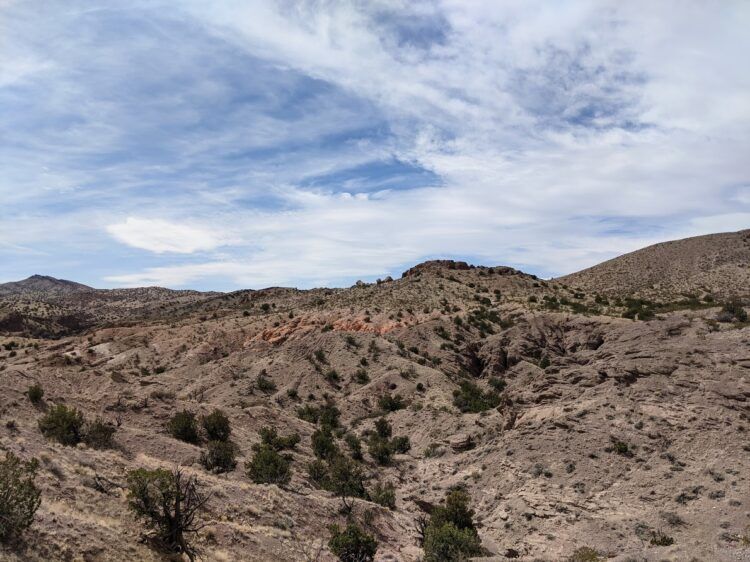
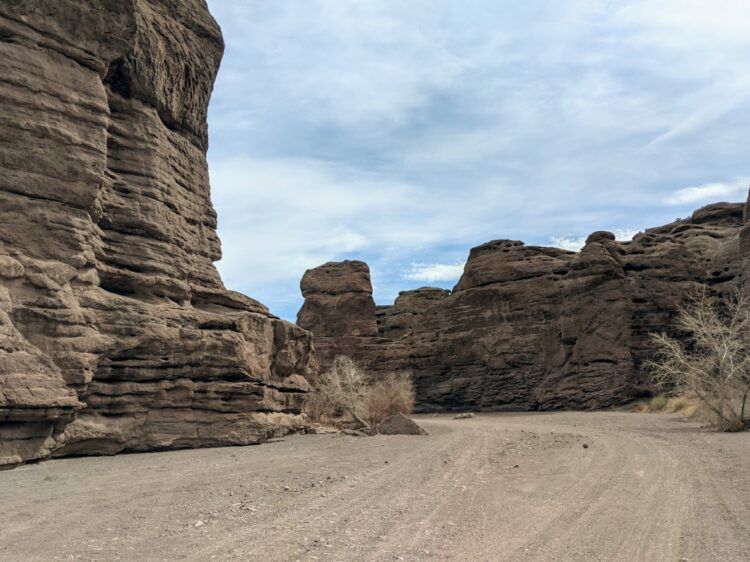
I arrived with my family on an oddly overcast day. There weren’t many details about what to expect, but on paper the hike looked great. The main trail looks like a flat, dry creekbed but there are nooks and crannies everywhere to crawl, climb, or clamber. Since my parents, sister, and I all have wildly different physical ability levels, it seemed like the type of place we’d all be happy.
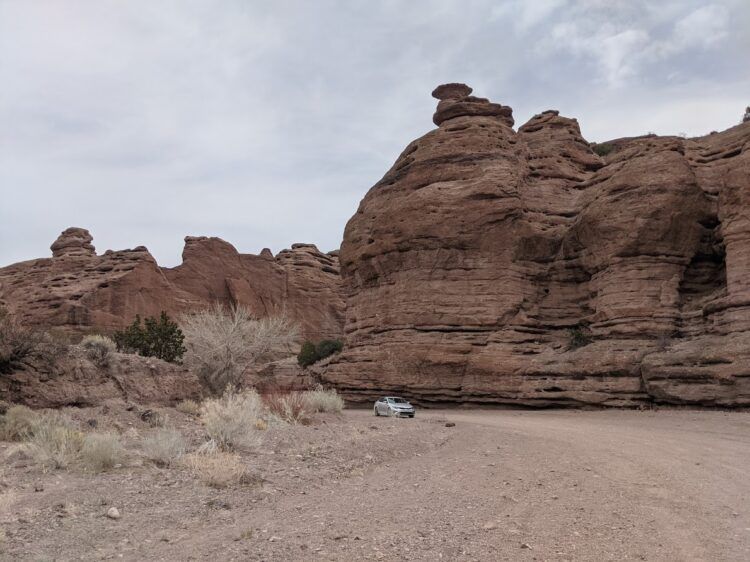
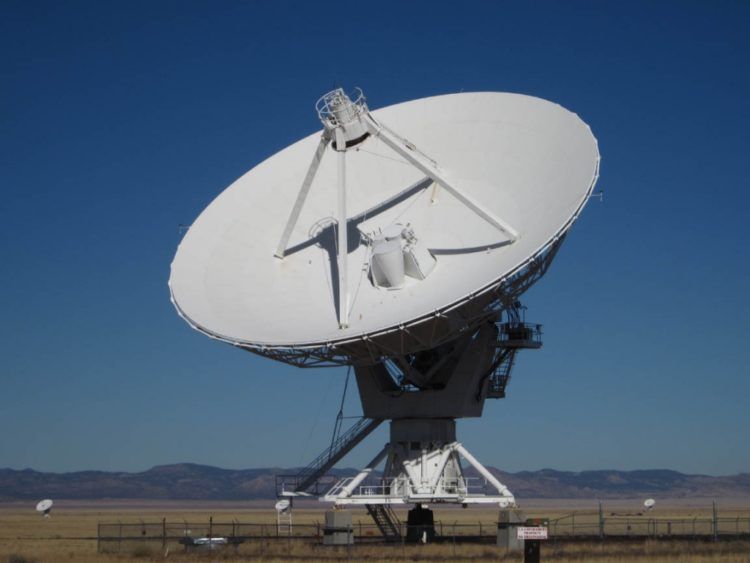
We parked on the side of the road — we never did see a “real” parking lot — and started by walking down the main road. If you can’t hike at all, the road goes on for a decent length with plenty of pull-offs for photography. I wouldn’t make a special trip from Albuquerque if this is all you have planned, but a canyon drive-through would make a decent add-on if you’re visiting Sevilleta, Bosque del Apache, or the Very Large Array.
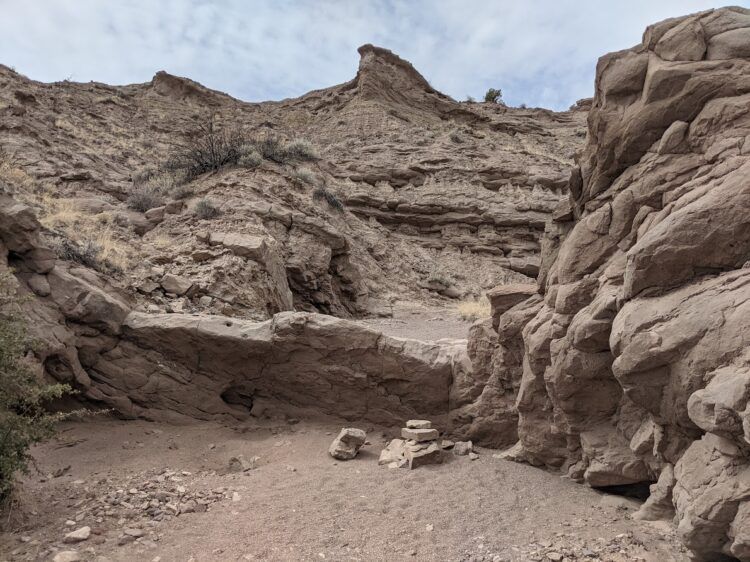
Although there are a series of trails within the canyon area, you won’t find trail maps at the entrance. There are also no color-coded markers or signs within the canyon to help you pinpoint where you are. Like many BLM sites, this requires you to very carefully remember where you started so you can retrace your route or you’ll need other tools to help you navigate.
We chose a 1.8 mile circuit that I found on the AllTrails app, but if you have a GPS you could design your own route from many of the offshoots (I have a Garmin). If you don’t have a GPS, just download the AllTrails map for offline use on your phone…it works great.
Arbitrarily, we started our circuit by heading clockwise. The initial walk was simple, heading a short way down the main road with chances to get up close and explore.
Eventually, there was a turnoff onto a true pedestrian path heading deeper into the canyon area. This part was still very accessible for anyone with limited mobility.
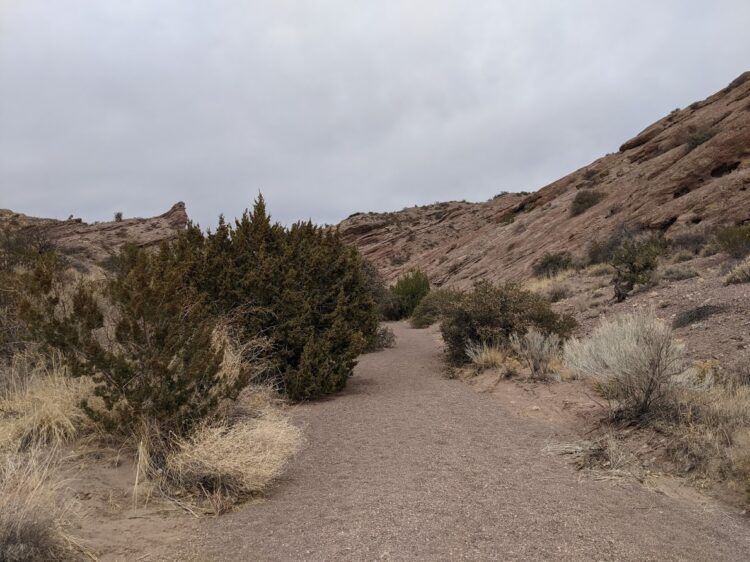
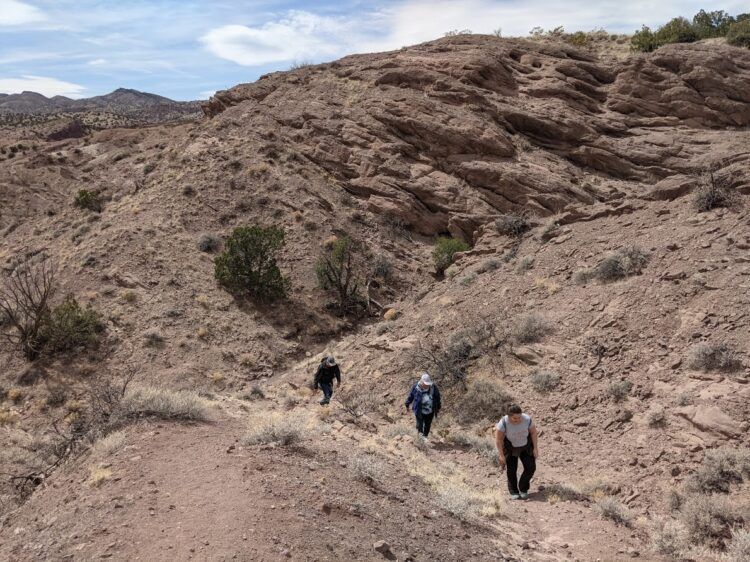
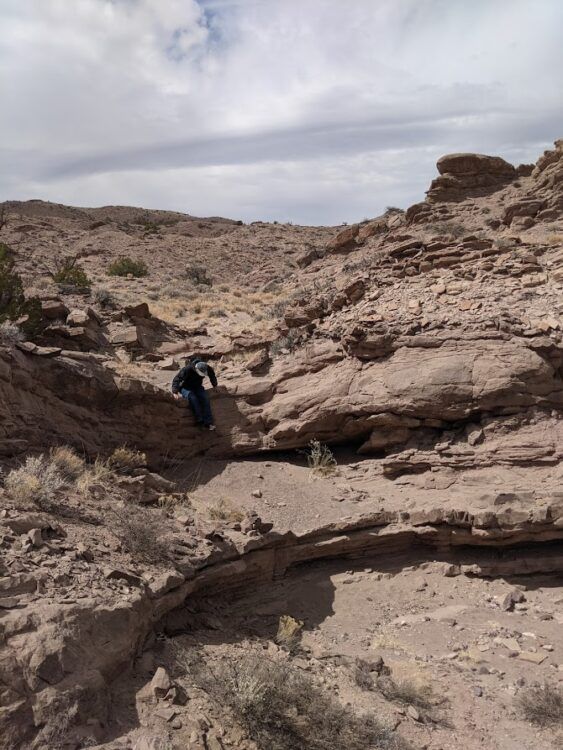
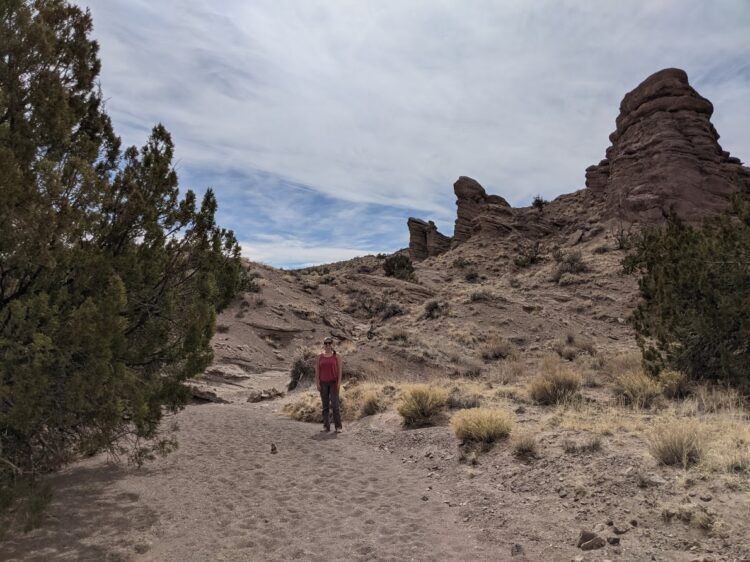
For the first mile or so of the circuit, the trail was primarily easy, wide paths like this but with a few challenging spots where you’ll need to take a big step up. Other hikers have graciously added some stepping stones to make it a bit easier.
This section is impossible to get lost in, so it’s easy enough to head down these easy paths and simply turn around and go back the way you came if you hit a spot in the trail beyond your abilities. Even if you don’t make it the whole way, there’s a lot to enjoy within the first section of this trail.

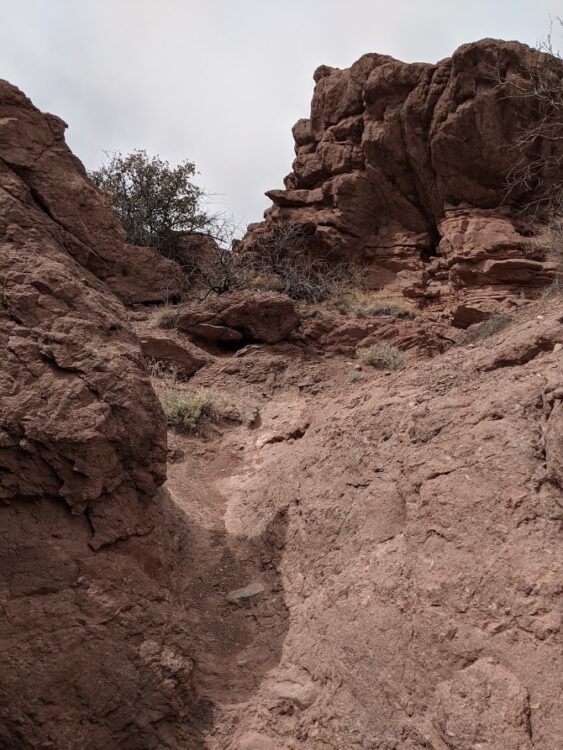
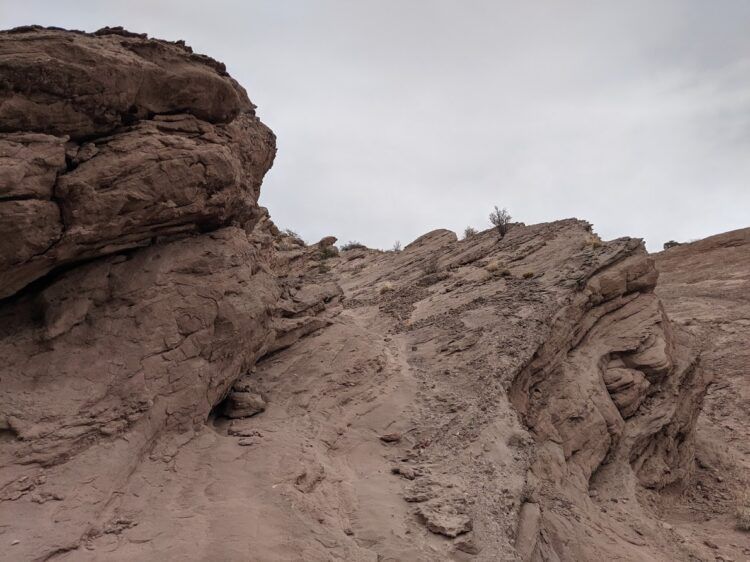
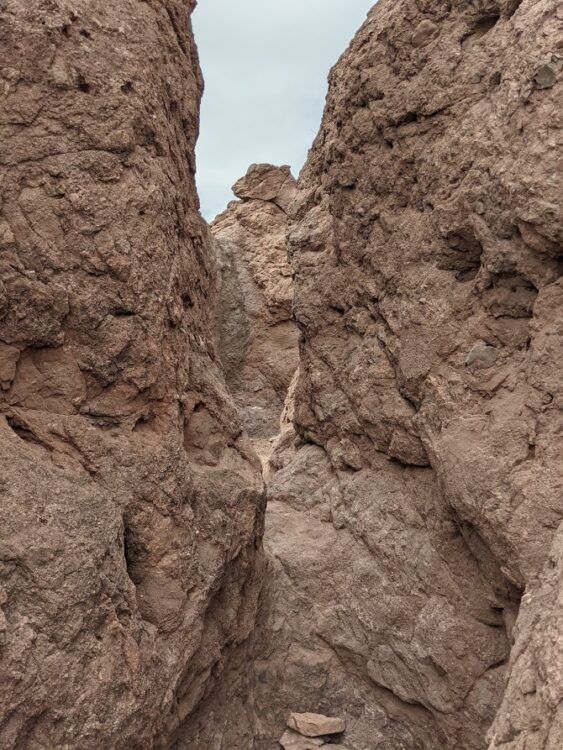
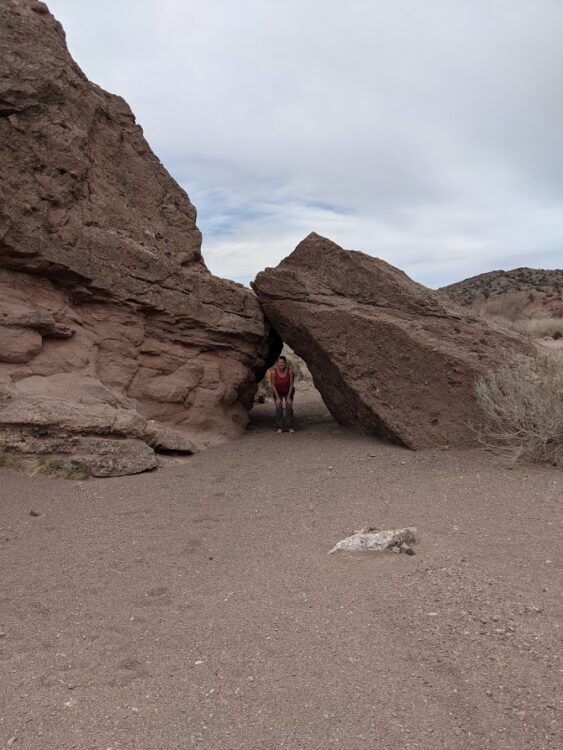
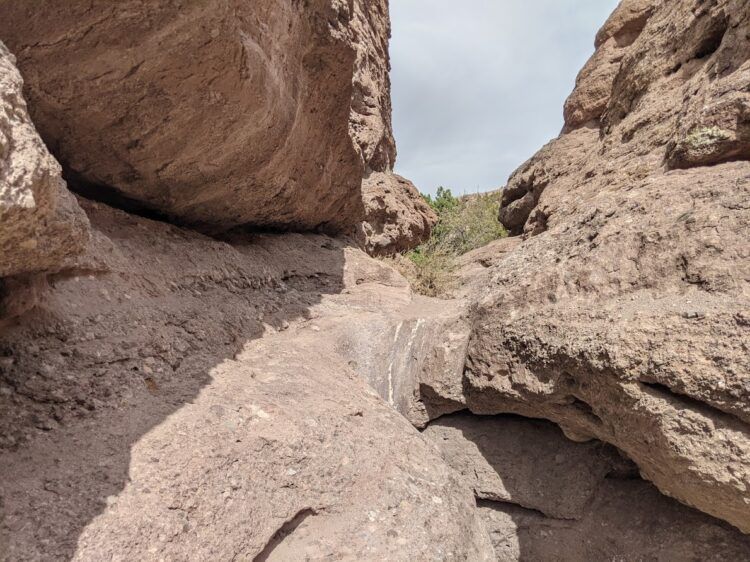
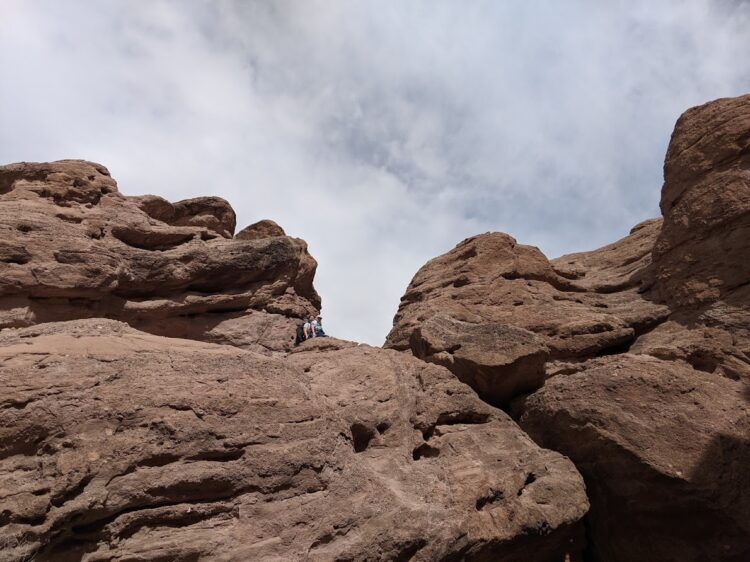
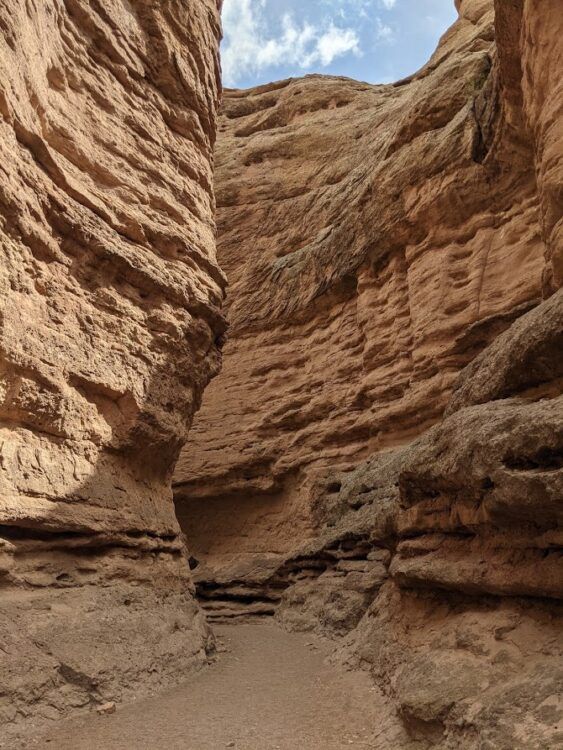
The second half of the circuit got more difficult, with narrower trails, a few uphill climbs, and more steps and jumps. This area also had more intersecting paths. If you’re not paying attention, you can easily get sidetracked from your planned route (which is not necessarily a bad thing, as long as you know how to get back to your car).
If you’re wondering whether the physical challenges of this part of the trail are worth it, in my opinion…yes.
The strenuous sections are short and interspersed with easy lengths of trail, so you’ll have plenty of chances to catch your breath. And many of the scrambling sections look a lot more challenging than they actually are as long as you keep your cool and go slowly. Admittedly, I’m stable on my feet with great balance and full mobility, but my parents managed to hike the full route too.
This section of trail, although more difficult, led to some awesome views.
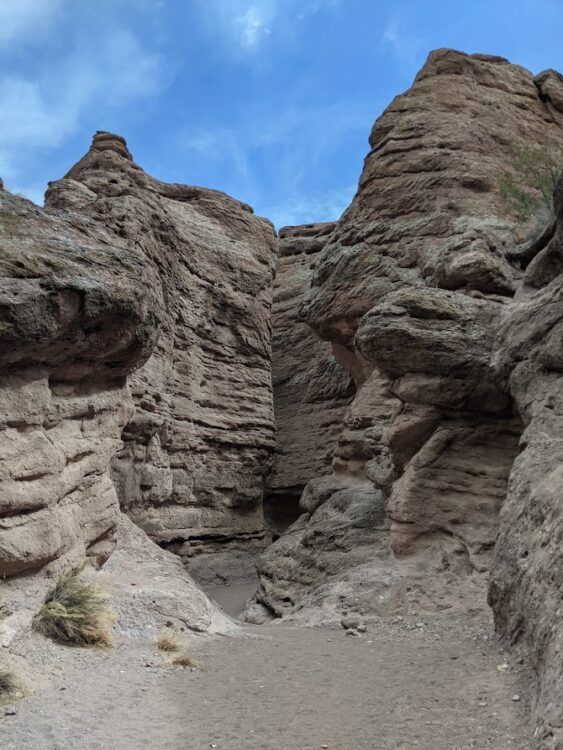
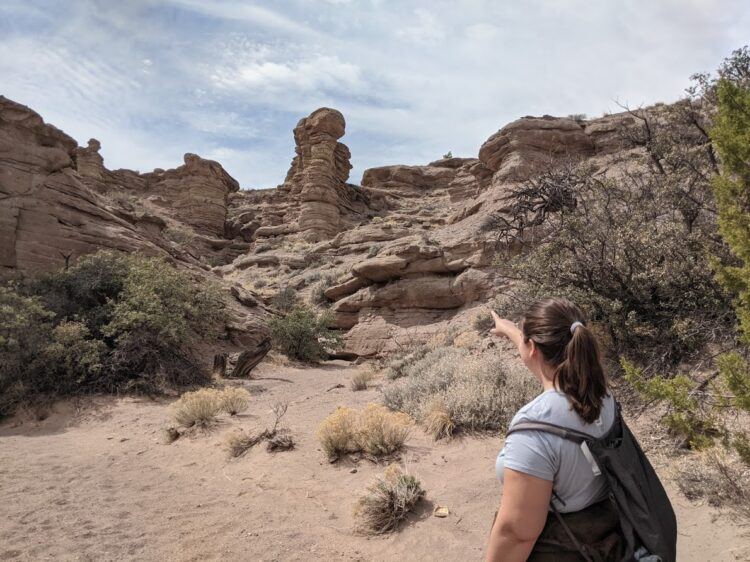
If you’re short on time, taking the AllTrails circuit counterclockwise would bring you to this more notable section first (but I kinda liked saving the best for last).
Altogether, we spent about 2.5 hours hiking in San Lorenzo Canyon, which included the main circuit, several detours to check out rock formations more closely, a few canyon climbs as trail scouting, and a short snack break.
There are no picnic tables, water sources, or bathrooms anywhere on site so plan accordingly and pack the essentials. As always, I love my Matador Daylite backpack and Mizu water bottle. You’ll also want sunscreen since there’s little shade in the canyon. On the bright side, any shoes with decent tread will suffice, so if you don’t have hiking boots, your sneakers will do (assuming they’re in decent shape).
Directions to San Lorenzo Canyon
Driving to San Lorenzo Canyon is a bit of a pain. Most GPS programs don’t lead you to the main trail access and instead head directly to a locked gate. You need to save these directions and navigate the old-fashioned way.
- From Albuquerque, head south on I-25 to exit 163.
- At the exit, turn left over the highway and then take the right-hand turn onto Frontage Road as soon as you’re over the overpass.
- Continue 2.3 miles on Frontage Road and then turn right onto an unmarked road near some old buildings. You’ll head through a short, one-lane tunnel (this is the second tunnel you’ll see — so keep an eye on your odometer).
- Directly after the tunnel, the paved road continues left but you want the dirt road that hangs right. Continue on this dirt road for about two miles, at which point you’ll see a San Lorenzo sign.
- At the sign, turn right, cross the cattle guard, and continue about another two miles (for a total of ~4 miles on dirt road).
Expect it to take about 75-90 minutes to reach the canyon from Albuquerque, depending on your exact starting point and your speed on the dirt roads. Obviously, different cars and changing conditions will impact this and it’s better to be careful than fast.
The first two miles of dirt road, from the tunnel to the sign, are well-maintained gravel. The second two miles are a little washboardy in some sections but still passable in a sedan on dry days if you take things slowly and carefully. As you drive that second half, be sure to stay on the main road as there are some sandy offshoots better suited for 4WD (they don’t take you where you want to go anyway).
Overall, San Lorenzo Canyon is a fun day out from Albuquerque and a great spot for hikers, climbers, and photographers.

Very well-written blog.
Thanks for sharing the useful content.
Keep sharing.
@Rahul, Thank you, it will be my pleasure.
Wow, your pictures of San Lorenzo Canyon are stunning! They really make us want to pack our bags and go!
@Go Wander Wild, It’s so beautiful if you have a chance to visit.